


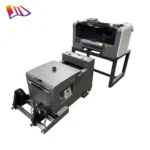
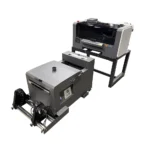
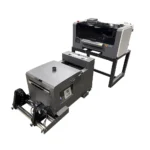

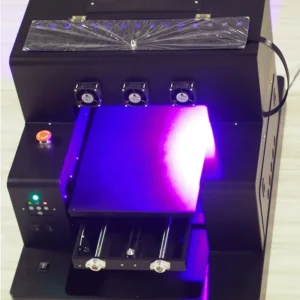
Desktop A3 DTF Printer For T shirts Custom Pet Film with Powder Shake Machine
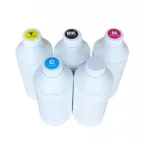
DTF is the latest print transfer technology for all fabric prints.
DTF ink is transferred to film, and then through the powder, shaking and hot pressing, finally attaches to the whole fabric to be printed.
Low cost and easy operation, it can solve the problem that the DTG machine cannot print.
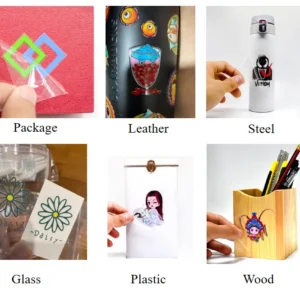
Suit for clothes, sweaters, sweaters, socks, shoes, masks, umbrellas, denim, clothing labels, etc.
We have everything you need to get started with Direct to Film printing!!!


This type of printer printing width max 61cm,
Epson Printer Head
Our printer used Epson printer head, xp600, 4720, i3200etc.
Widely Use
Works with almost all types of fabrics.
1 Year Warranty
We will provide you instant online support service and free repair service.


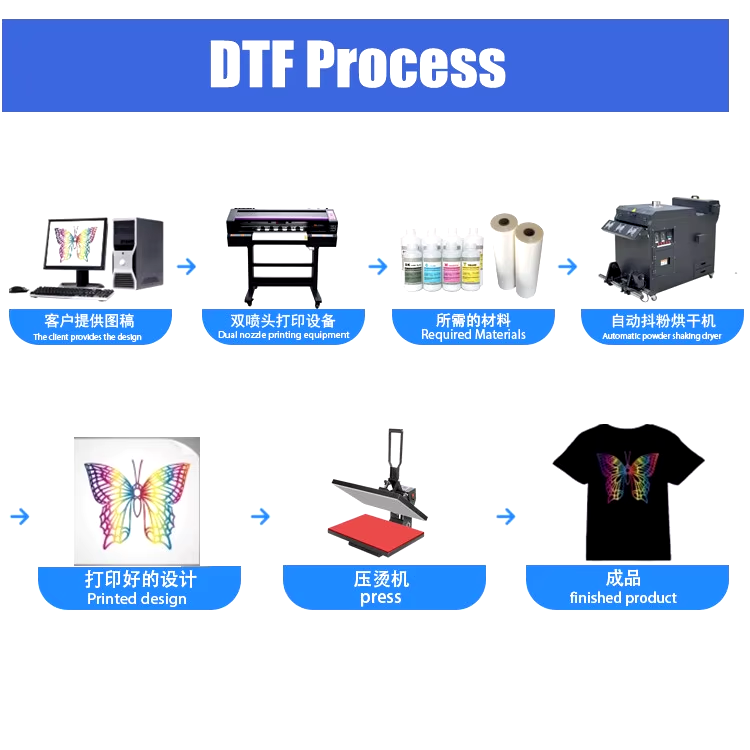
The DTF process is as simple in its working as its name suggests
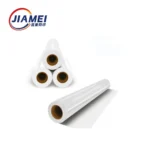
Step 1 – Print on Film
Instead of regular paper, insert the PET film in the printer trays. First print the entire image in white on the PET film. After this, using the appropriate color settings the in printer, print the required image on the white image layer. The important point to remember is that the print on the film must be a mirror-image of the actual image that needs to appear on the fabric.
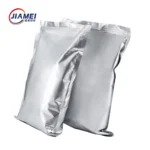
Step 2 – Powdering
This step is the application of hot-melt powder on the film that has the printed image on it. The powder is applied uniformly when the print is wet and the excess powder needs to be removed carefully.
such that it forms an approximately 1 inch thick heap in the centre from the top to the bottom. Pick up the film together with the powder and slightly bend it inwards such that it forms a slight U with the concave surface facing oneself. Now rock this film from left to right very lightly such that the powder will slowly and evenly spread all across the surface of the film.
Step 3 – Melting the powder
As in the name, the powder is melted in this step. This can be done in various ways. The most common way is to put the film with the printed image and the applied powder in the Curing Oven and heat.
over the film and leaves a necessary gap.
Step 4 – Pre-pressing
The step involves pre-pressing of the fabric prior to transfer of image by the film. The fabric is kept in the heat press and pressurized under heat for about 2 to 5 seconds. This is done to flatten the fabric and also ensure de-humidification of thefabric.
Step 5 – Transfer
This is the heart of the DTF printing process. The PET film with the image and the melted powder is placed on the pre-pressed fabric in the heat press for a strong adhesion between the film and the fabric.
Step 6 – Cold Peel
It is important that the fabric and the now attached film on it cool down to room temperature before one pulls the film off. Since the hot-melt has a nature similar to amides, as it cools down, it acts as a binder that hold the colored pigment in the inks in firm adhesion with fibres of the fabric.
Once the film is cooled, it must be peeled off the fabric, leaving the required design
printed in ink over the fabric.
Step 7 – Post-pressing
This is an optional step but is very highly recommended for best results and high performance parameters like wash and rub fastness. In this step, the final fabric with the transferred design is pressed in the heat press for around 10 to 15 seconds.


Reviews
There are no reviews yet.